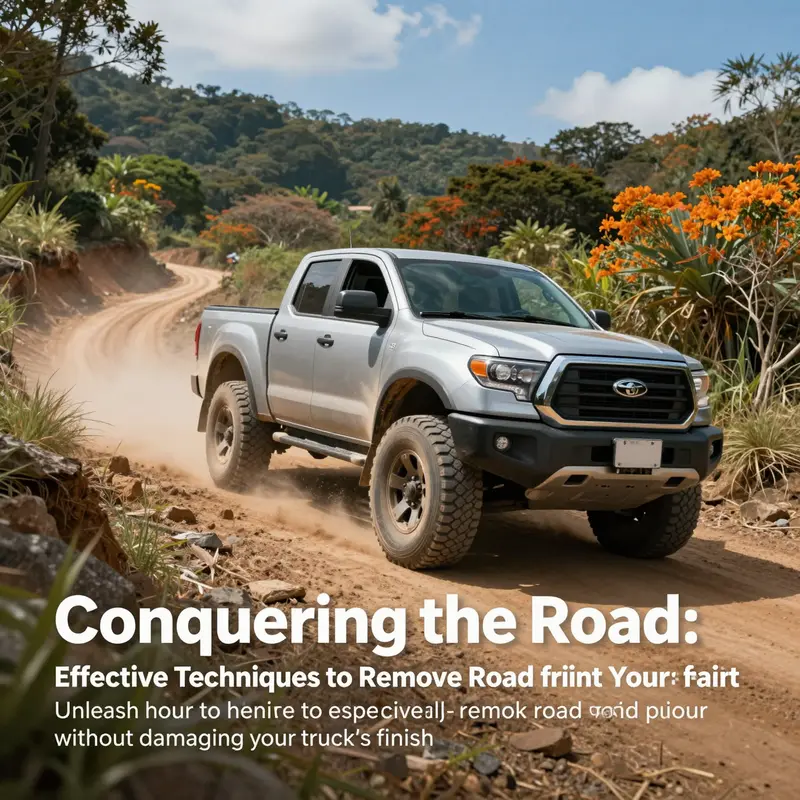
Off-road enthusiasts, adventurers, and rural landowners often find their trucks splattered with road paint during their journeys, hindering not only aesthetics but also their rugged spirit. Long-lasting paint drips can diminish the truck’s appeal and even threaten its protective coatings. In the following chapters, we will explore the crucial methods tailored for removing both fresh and dried road paint, ensuring your truck remains the pride of your off-road excursions. We’ll also discuss essential safety precautions with solvents and know when it’s time to call in the professionals to reclaim your truck’s pristine look. Dive in to keep your beast of burden in top shape and ready for any challenge.
Fresh Road Paint on a Truck: Quick, Safe Cleanup When Time Is of the Essence
When road paint lands on your truck, the clock starts ticking. Fresh paint is still soft, and every minute counts. The act of cleaning it up quickly and correctly can mean the difference between a clean finish and a stubborn stain that mocks your efforts for weeks. This chapter follows a single, cohesive path: understand why fresh paint behaves the way it does, choose the gentlest tools first, and escalate only as needed. The goal is to remove the paint without scratching or dulling the clear coat, preserving the look of your truck while you maintain the finish you’ve worked hard to protect. Think of this as a skill in timing and touch, not in force. The best outcomes come from patience, careful technique, and a plan that respects the surface you’re cleaning. And while the specifics of paint chemistry can vary, the core approach remains consistent: act fast, stay gentle, and know when to call in a pro.
Fresh road paint behaves like a temporary coating on a glossy surface. If you catch it early, you’re dealing with liquid color that has not yet had a chance to set. In this moment, the surface can be coaxed clean with simple, nonabrasive methods. The safest route is to begin with plain water and a soft cloth. A damp microfiber cloth, used in a gentle, circular motion, often lifts the paint away without leaving trails or rubbing it into the clear coat. The key here is not to scrub or apply heavy pressure. Gentle contact allows the water and the cloth fibers to pick up the pigment rather than grind it into the finish. If the paint resists with stubborn edges, a touch of mild soap can help. A small dab of dish soap in warm water creates a mild solvent that helps emulsify the pigment as you wipe. The soap acts like a lubricant, reducing friction so the cloth glides rather than grinds. Yet the moment you observe any dulling or smearing, you should pause and reassess. Persisting with aggressive rubbing at this stage risks pushing color into any microscopic crevices, potentially dulling the clear coat and inviting halos around the cleaned area.
The step-by-step approach for fresh paint, when executed with calm and precision, is simple but powerful. First, act quickly the moment you spot the paint. The longer it sits, the more it bonds with the clear coat, and the harder it becomes to remove without consequences. Second, wipe gently with a soft, damp microfiber cloth using broad, overlapping circular motions. This motion helps lift rather than smear the pigment. Third, if the color does not readily lift with water, introduce a small amount of mild dish soap and warm water. Dab—not rub—with the soapy cloth, and then switch back to clean water to rinse away any soap film. The idea is to keep the area moist and the cloth light, letting the material do the work rather than your hand. If you pay attention to the feel of the cloth, you’ll notice that a clean, slightly damp cloth will glide, while a saturated cloth or a dry one will drag and smear. This tactile feedback is your best predictor of success.
What happens if the paint begins to dry a little during cleanup? In that moment, you shift from a purely water-and-wipe approach to a slightly more involved method, still prioritizing safety. Gently re-wet the area with a microfiber cloth dampened in warm water, and again use light circular motions. If you sense that the pigment has started to set, do not press hard. Instead, consider using a very light touch with a mild solvent specifically designed for automotive surfaces, but only after you’ve tested a small, inconspicuous patch. Even a small amount of solvent can disrupt the finish if misapplied, so the patch test is essential. When you do move to a solvent, follow the manufacturer’s directions precisely, apply it to the cloth rather than directly onto the paint, and avoid prolonged contact. The goal remains to dissolve or lift the pigment and then wipe it away before it has a chance to bond deeply.
As the cleanup progresses, you may notice that the paint has left behind a faint residue or a slight haziness where the pigment sat. This is a sign that the pigment has dissolved or smeared rather than simply sitting on the surface. In such cases, a second, careful pass with a clean, damp cloth can help remove any lingering film. If there’s any indication of etching or dull spots, it’s prudent to step back and assess. A tiny misstep in the early moments can lead to more work later, so it’s wise to respect the reaction of the finish and choose the least aggressive path that achieves clarity.
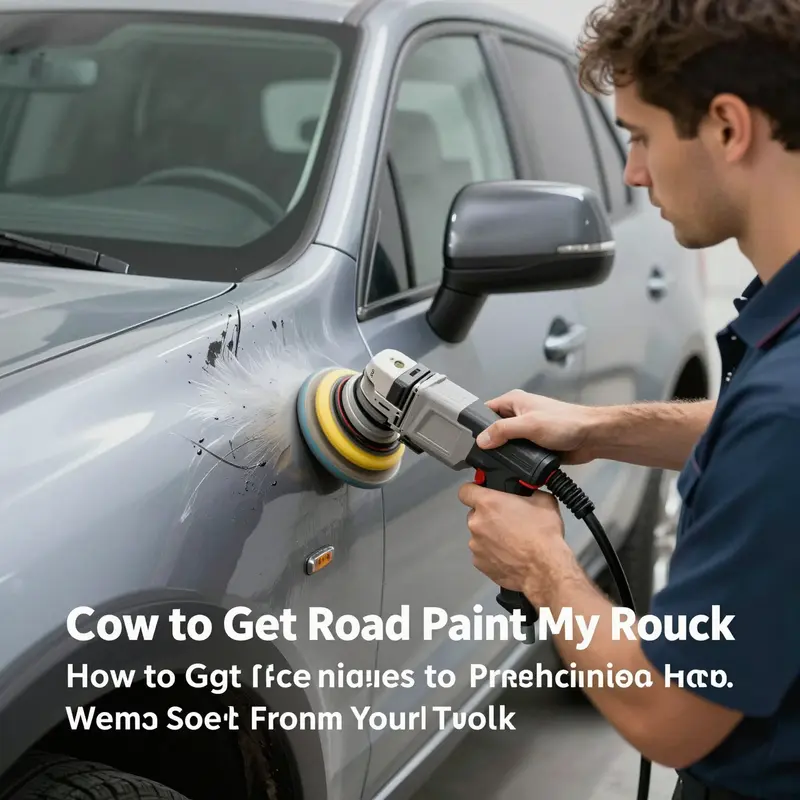
A practical alternative for fresh paint, when the area is stubborn but still fresh, is to employ a detailing clay bar with a light lubricant. The clay bar’s mild abrasiveness is enough to lift contaminants that have started to adhere without marring the surface. This method is most effective after the pigment has softened and is better suited for areas where water and soap alone aren’t cutting it. When using a clay bar, you should work in small sections and maintain plenty of lubricant so the clay can glide over the surface. First, apply the lubricant to the panel. Then, knead the clay to expose a clean surface and lightly glide it over the paint with a gentle pressure. If the clay picks up any pigment, fold it to expose a fresh surface. After the clay treatment, rinse and dry the area, then inspect under bright light. If you still see pigment embedded in the surface, repeat the process one more time, but avoid overworking the area. The clay bar can be an excellent tool for surmounting persistent spots that refuse to yield to water and soap alone.
In some cases, the paint won’t lift completely with soap and clay. This is where the decision to escalate should be guided by a careful assessment of risk versus reward. If you begin to see any swirl marks, marring, or changes in gloss, stop and reassess. The surface you want to preserve is the same surface you’re cleaning, and any aggressive action can create an area that looks worse than the initial spill. The goal is to preserve the shine, not to chase a spotless patch at the expense of the surrounding finish. When the pigment remains stubborn and the risk of damage increases, professional help becomes the prudent choice. A trained detailer or body shop has access to polishing compounds and equipment designed to remove paint from the surface with minimal disruption to the original finish. They are able to balance chemical and mechanical methods, often restoring the area to a uniform gloss while maintaining the integrity of the base coat and clear coat. The decision to seek professional help, in such cases, is not a weakness but a smart choice to protect the asset you care for.
Throughout this process, there are a few guardrails that help ensure you don’t unintentionally harm the finish. First, always test any cleaner or solvent on a hidden panel or an inconspicuous area before applying it to the paint you can see. This step can save you from surprises on a highly visible portion of the truck. Second, work in a shaded area. Direct sun can cause cleaners to dry too quickly, leaving streaks or residues that look like more paint. Third, avoid harsh solvents unless the situation demands them. Acetone, gasoline, or other strong thinners can remove paint or clear coat and can strip wax or sealant if left on the surface too long. When in doubt, err on the side of gentleness and test, test, test again. Fourth, after you remove the pigment, consider re-waxing or applying a sealant to the cleaned area. Fresh paint removal, even when successful, can leave behind micro-abrasions or a slightly altered surface feel. A protective layer can help restore the surface’s smoothness and repolish the finish so it looks as good as new.
For readers who want a broader maintenance perspective beyond the moment of paint removal, there is value in understanding how the truck’s finish is protected in daily use. The steps outlined above align with general best practices: start with the least aggressive methods, escalate only when necessary, and ensure you are operating within a framework that prioritizes the integrity of the paint system. In practice, this means keeping up with routine washing, using two-bucket washing methods, and maintaining a protective barrier such as a quality wax or sealant after any cleaning episode. These precautions help your truck resist future paint splashes and make any inevitable cleanup a simpler, less risky process. If you are pursuing ongoing maintenance and want a deeper dive into the mechanics of paint, surface protection, and detailing techniques, you can explore further guidance through related materials in the broader maintenance literature, including the linked resource below.
To connect this fresh-paint-focused approach with broader truck maintenance and mechanics, you can explore ancillary insights on the topic of diesel systems and routine maintenance in the following resource: mastering-diesel-mechanics-your-step-by-step-path-to-success.
External reference for additional methods and safety notes: https://www.caranddriver.com/ownership/a40271395/how-to-remove-paint-from-your-car/
When Road Paint Sticks: A Steady, Safe Path to Restoring Your Truck’s Finish
Road work, highway travel, and the random splatter of commerce all conspire to coat a truck with road paint at some point in its life. The sight can be jarring, especially when the pigment clings to the clear coat and refuses to yield. But the goal is not just to erase a spot of color; it is to do so without disturbing the resilient, protective layers beneath. The drama is real, yet the method is straightforward if you approach it with patience and a steady hand. The first rule is simple: act with care. If the paint is fresh and still soft, you have an easier path ahead. The moment the pigment begins to dry and set is when the decision trees narrow. With a careful plan, you can lift the paint, preserve the finish, and return the truck to its former gloss without inviting new problems such as hazing, micro-scratches, or an uneven patch that catches the sun at an angle and calls attention to itself. The journey from speck to sightline is not about brute force but about controlled chemistry, tested technique, and a clear appreciation for the order in which surfaces are protected and cleaned.
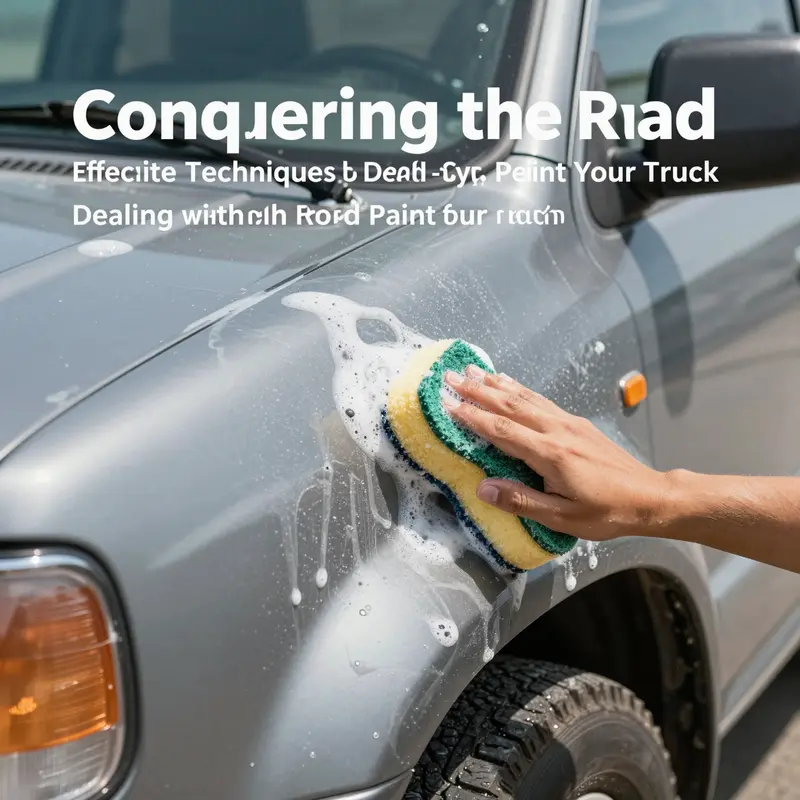
When the road paint is still wet or just drying, the safest route is to rely on simple, readily available materials and gentle action. A soft cloth or sponge and warm water with a touch of mild dish soap can lift a wet spot before it hardens. The idea is to blur the line between paint and finish rather than to rub the pigment into the clear layer. Use a circular motion that starts at the edge of the stain and moves inward, gradually narrowing the contact area so you do not widen the smear. It is tempting to press harder, but the objective is to coax the paint away without disturbing the clear coat. The soap acts as a mild lubricant and helps to break the surface tension of the paint. If any residue remains, switch to a clean, damp cloth and repeat with patient, careful strokes. This approach, when done promptly, keeps the risk of damage low and reduces the chance of a stubborn, embedded stain.
If the paint has dried or set, the work becomes more deliberate. The field of options broadens, but the emphasis remains on safeguarding the vehicle’s finish. One fundamental step is to bring in a non-abrasive automotive paint remover option. Look for products labeled as non-abrasive and designed to lift paint without cutting into clear coats. These removers are usually gel or liquid formulations that soften the pigment just enough to be wiped away with a microfiber cloth or a soft plastic scraper. The key is to follow the instructions on the product label and to apply only to the paint spot rather than the surrounding finish. Letting the remover sit for the recommended minutes gives the solvent time to penetrate the bond between the paint and the clear coat, but you must avoid letting it dry out completely on the surface. A patch test on a discreet area is a prudent precaution; it helps confirm that the finish beneath will not haze or dull.
A complementary technique, particularly for stubborn traces, uses a gentle solvent such as isopropyl alcohol. Dampen a clean microfiber with 70 percent or higher isopropyl alcohol and apply it to the paint in small, controlled dabs. The alcohol works by dissolving many kinds of paint without aggressively attacking the clear coat when used sparingly. The crucial caveat is to avoid prolonged contact. Let the alcohol do its work for a short moment, then wipe with a fresh cloth. If any pigment remains, repeat in small strokes rather than broad, sweeping motions that could abrade the paint. The dance between solvent and surface is a short, repeated I-did-it-a-little-bit-then-wiped-it-away sequence, not a long, continuous scrub. This approach honors the integrity of the truck’s finish while gradually reducing the visible marks.
After any solvent or remover step, you should re-evaluate the surface under neutral, diffuse light. If you see dullness or slight hazing, a detailing clay bar, used with a lubricant, can help. The clay bar is designed to lift embedded contaminants from the paint surface without scratching it. Work the clay in a gentle, straight-line or circular pattern, folding and re-folding the clay to expose fresh, clean material. The clay acts as a final polish of sorts, drawing out materials that the solvent could not lift wholly and leaving behind a smooth surface ready for the next care step. If you are unfamiliar with clay work, remember that patience is the ally here; press too hard, or rush the glide over the paint, and you risk micro-scratches that catch the sun and become a telltale defect.
It is worth noting that there are more specialized control options that do not rely on harsher solvents. You can find dedicated paint remover pads or strips that are designed to soften road paint and allow you to lift it away with a plastic scraper or even a credit card. The advantage of these tools is that they shield the underlying clear coat from the harsher solvents while concentrating the action on the spot in question. Use the pads or strips exactly as directed, and do not apply them to large areas of painted surface. The goal is targeted removal, followed by a careful wipe-down with a clean microfiber. As with all tools, a test on a hidden corner provides a safety net against any unforeseen interaction with your vehicle’s paint chemistry.
In the sequence of safeguards, avoid resorting to aggressive solvents unless every gentler method has failed and you are prepared to accept the risk. Substances such as acetone, gasoline, or overly aggressive paint thinners can strip not only the pigment but also the protective clear coat and primer beneath. The potential for long-term damage, including exposed metal and rust, is a cost far greater than the benefit of removing a single spot of paint. If you reach that stage, the prudent choice is to pause and seek a professional auto body or detailing service. They have the polishing compounds, buffers, and controlled equipment to minimize damage while restoring the truck’s finish. A professional assessment can save you time and money by preventing a misstep that leads to a much larger area needing repair.
Throughout this process, give due consideration to the environment and the condition of the paint around the spot. Work in a shaded area to slow the solvent’s evaporation and to keep the solution from drying too quickly, which can leave streaks or uneven residues. Always test any solution on a concealed panel first. The under-door edge or a fender overlap are good starting points where any mishap won’t be highly visible. If you notice the paint lifting or the surface feeling tacky after a dwell period, remove the solution with a clean cloth and proceed with a fresh approach. The discipline of testing, waiting, and observing is the backbone of successful paint removal and the surest way to protect the truck’s overall appearance.
When you bring a small patch into the realm of success, you will want to complete the process with a restorative step that helps seal the surface back to its original gleam. After removing the paint and ensuring there is no residue left behind, wash the area thoroughly with clean water and mild soap to remove any remaining chemical traces. Dry the area completely. Then reapply wax or a paint sealant to restore a protective layer and to help the surface shed future contaminants. The protective layer is essential because the removal process, even when done carefully, can strip away micromillimeters of the existing shield. A fresh layer of protection not only improves the surface appearance but also offers resistance to future marks, helping your truck stand up to the next road-paste encounter with greater resilience.
If the spot is more extensive or the finish shows signs of deepen wear, it is reasonable to consult a professional. A qualified auto detailer or body shop can determine whether the pigment should be treated with polishing compounds that restore clarity and smoothness, or whether larger sections require more comprehensive refinishing. The goal is not to chase a perfect gloss at the risk of harming the base layer but to restore uniformity and restore the surface to its best possible condition. A trained professional can also advise on paint care regimens that help prevent future staining and keep the finish looking sharp longer, an often underappreciated benefit of expert oversight.
Each step you take should be grounded in steady, methodical action rather than speed. The idea is to prevent a hasty removal from turning a small blemish into a long, expensive repair. This cautious approach—test, dwell, wipe, and reassess—reflects a broader philosophy that underpins all careful vehicle maintenance. The practical pathway mirrors the thought process you would find in a seasoned, hands-on manual for diesel mechanics or heavy-duty vehicle upkeep: know the material you are dealing with, choose the least aggressive tool that will accomplish the task, and verify results before proceeding to the next stage. If you want to explore this kind of disciplined approach from a maintenance perspective, you can reference a practical guide here: Mastering Diesel Mechanics: A Step-by-Step Path to Success.
The overarching message is simple: protect the finish first, treat the stain second, and verify the result before moving on. The finish is the armor of the truck, the first line of defense against rust and wear. By treating road paint as a temporary blemish rather than a permanent mark, you preserve the integrity of the paint system and extend the vehicle’s life. This mindset helps prevent a cycle of damage that can occur when people default to aggressive chemicals or brute force in an attempt to erase a spot. Patience and precision are not merely virtues here; they are the practical requirements for maintaining a truck that earns its keep on the road.
The path to success is not a single motion but a sequence: begin with a gentle approach if the paint is fresh; escalate only to non-abrasive removers if needed; supplement with isopropyl alcohol for stubborn spots; finish with clay to lift embedded deposits; and finally, protect the surface with wax or sealant after the area is clean. In many cases, this sequence yields a clean, uniform surface without noticeable variance in shade or texture. When done correctly, onlookers will not see a difference between the treated area and the surrounding paint; instead, they will notice the truck’s consistent gloss and the absence of distracting marks. If your experience deviates from this path, revisit the steps, test again, and consider professional help. A trained eye can often spot subtle issues—such as a residual film or a faint hazing—that may not be obvious at first glance but can affect long-term durability if left unaddressed.
Finally, remember that the aim is not just to remove pigment but to preserve the vehicle’s value. Road paint is a nuisance, but it is not a fatal flaw if handled with care. The right combination of gentle techniques, tested products, and patient execution can restore your truck’s appearance while maintaining the protective layers that matter most. With diligence, your truck will once again ride down the road with its original shine intact, unmarked by the road’s own transient signs of travel. For a broader discussion of safe paint removal techniques and how to tailor methods to different finishes, consult the external reference that accompanies this guidance: https://www.meguiars.com/learn/articles/how-to-remove-paint-from-car.
Road Paint on Your Truck: Safe, Step-by-Step Strategies for Clean Removal Without Damaging Your Finish
Paint splatter on a truck bed or fender is a common, frustrating sight. Road debris, construction zones, or a stray spray from a passing vehicle can leave marks that look permanent at first glance. But the path to restoration is not a wild sprint through solvents and powders. It is a careful, measured process that respects the vehicle’s finish. The approach changes with the paint’s condition and where it landed. If the paint is fresh and still wet, a gentle touch can lift it without leaving a trace. If the paint has dried, you need methods that soften the coating without compromising the clear coat or base color. The goal is to remove the unwanted pigment while preserving the integrity of the paintwork that covers the truck. This requires a blend of appropriate cleaners, cautious technique, and a mindset that safety comes first. It also means staying patient and ready to adjust if the surface does not respond as expected. The following narrative weaves together practical steps, safety fundamentals, and the logic that guides every responsible removal job.
When paint is still wet or just beginning to set, timing is everything. The simplest, most forgiving approach begins with a mild solvent action—water and soap. A soft cloth or sponge dipped in warm, sudsy water provides the first line of defense. The idea is to lift the paint rather than grind it into the clear coat. The process should feel almost tender: a light touch, a slow pass, and a willingness to repeat as needed. Use a gentle dish soap mix, not a harsh degreaser. Work from the edge of the spot toward the center, keeping the area damp rather than soaking it. Rinse from time to time to prevent soap scum from drying on the surface, which can complicate later steps. If the paint comes up and the surface looks clean, you have avoided the need for stronger solvents. Dry the area with a clean microfiber towel and inspect the finish under good light. If the mark is gone, you are done, and you should consider a light wax or sealant to refresh the protection around the area. If any tint remains, the next steps can help without risking the underlying finish.
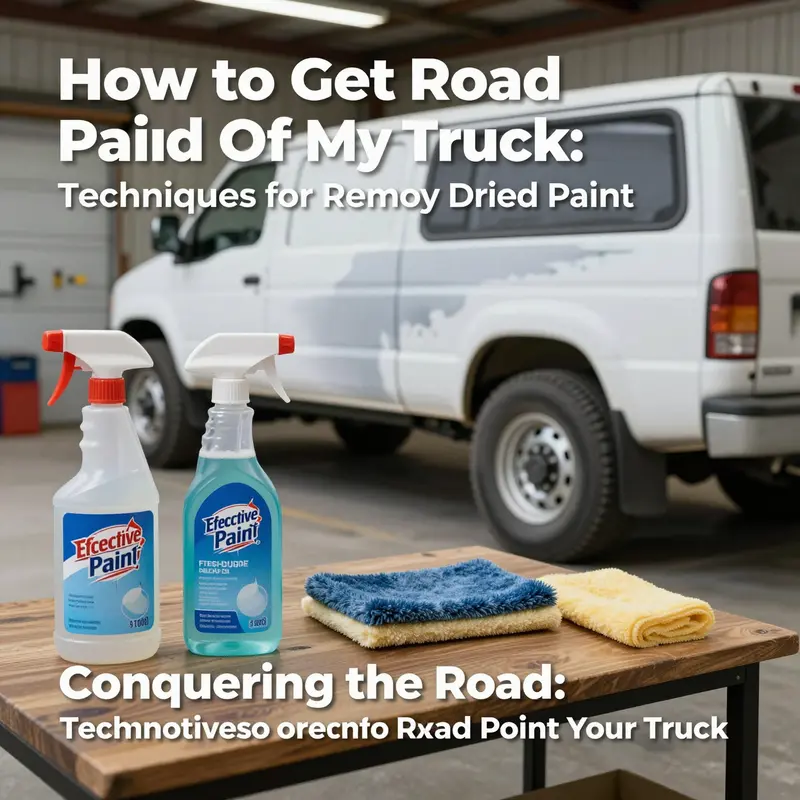
For dried paint, the situation requires a different strategy. Dried paint can cling stubbornly to the clear coat, and aggressive rubbing with water alone can smear the pigment or grind it into the surface. The safer path begins with a solvent designed for automotive finishes. A liquid that is specifically formulated to break down cured paint can lift the pigment without aggressively attacking the clear coat. Apply it according to the general guidance for paint removers: use clean, soft cloths, and avoid rough textures that could scratch. Dampen a cloth with the chosen remover, place it gently over the paint spot, and let it sit for a few minutes. The instruction is to give the solvent time to soften the bond between the road paint and your vehicle’s finish. Do not rub during this waiting period. After the brief dwell, use a fresh microfiber to lift away the softened residue with a light touch. If the paint begins to release, wipe it away and examine the area. Repeat only as needed, keeping the effect gradual to prevent stripping or dulling around the spot.
If the discoloration stubbornly clings even after a dedicated remover, an additional option can help: a moderate amount of isopropyl alcohol. A cloth dampened with 70 percent or higher rubbing alcohol can dissolve many types of paint and contaminants, including some dried road paint. Alcohol works best as a supplementary step rather than a sole solution. Wipe with the grain of the panel and avoid saturating the surface. Prolonged contact can soften or dull the finish, so keep the treatment brief and controlled. After using alcohol, recheck the area. You may find that the paint has softened enough to lift with a light wipe. If not, you can move to a detailing technique that treats embedded residues more aggressively while still respecting the paint. At this stage, it is prudent to consider a detailing clay bar. A clay kit, used with a lubricating spray or mild soapy water, can draw out embedded contaminants without scratching the clear coat. Knead the clay until it feels pliable, then gently glide it over the treated area with light pressure. If the clay picks up more pigment, resume with a clean side and a fresh lubricant to avoid grinding the pigment back into the surface. The clay step is not a magic wand; it is a careful, mechanical cleanup that works best after a solvent has loosened the pigment’s grip.
A note on the boundaries of solvents is essential. While some strong solvents—think of widely used thinner-like liquids—can remove road paint, they carry a real risk. Gasoline, kerosene, and similar substances are highly effective at dissolving coatings, but they can also strip protective layers or dull the paint’s gloss. Banana water, a colloquial reference to certain thinner blends, shares this risk. These should be considered last-resort options and only used after testing a tiny, concealed patch to see how your finish responds. If you must go down this road, do so in a well-ventilated area, with gloves and eye protection, and with great care. The goal is to avoid a fresh set of problems, such as a cloudy finish or edge blooming around the area, while still removing the road paint. Even then, proceed slowly, and stop immediately if you notice any change in the paint’s clarity or color.
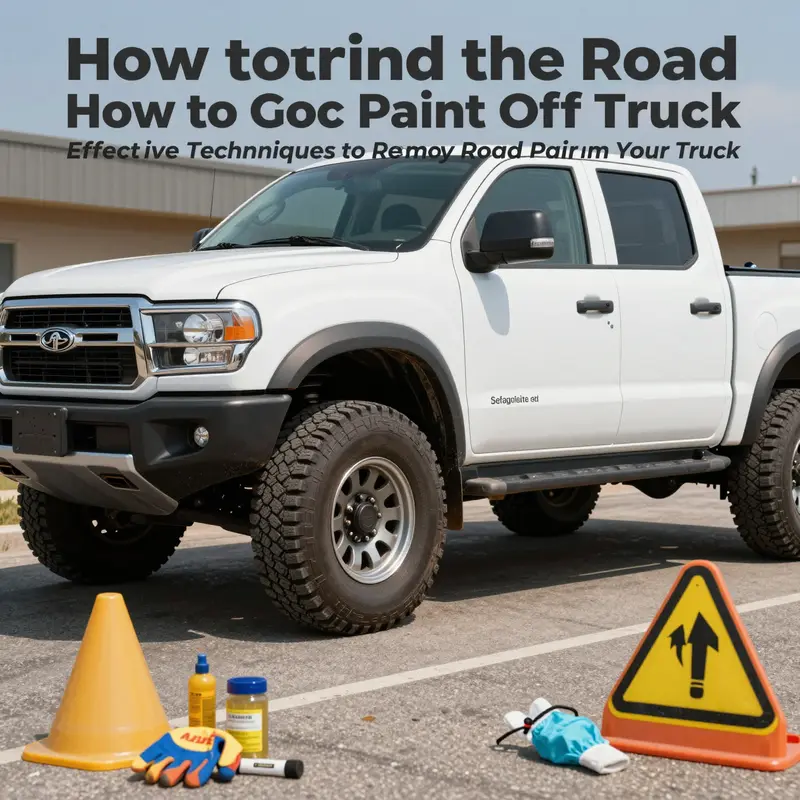
Safety is not optional in this work. Begin with a well-ventilated space. Solvent fumes can irritate the eyes and lungs and may trigger headaches. Outdoor performance is ideal, but a garage with doors and windows wide open also works. Wear chemical-resistant gloves, preferably nitrile or neoprene, to shield skin from irritants. Eye protection is essential to prevent splashes from reaching the eyes. If you anticipate fumes or have a sensitive respiratory system, consider a suitable mask or respirator designed for chemical vapors. Before applying any solvent to a visible area, test it on a small, inconspicuous patch—such as under a bumper or along a lower edge. Leave it for 5 to 10 minutes to observe any adverse reaction, such as softened clear coat, color change, or dulling. Only when the patch remains stable should you proceed with broader treatment. Use non-abrasive tools for application. Soft cloths, microfiber, and cotton pads are ideal. Avoid steel wool, abrasive pads, or anything that can scratch.
The sequence of application helps minimize risk and maximize chance of success. Start with the least aggressive method for the smallest area and escalate only as needed. Dampen a clean cloth with your chosen solvent. Gently dab the paint spot rather than rubbing, and allow a brief dwell. Then wipe away with a fresh cloth. Rinse the area with clean water to remove any chemical residue that could degrade the finish over time. Dry with a microfiber towel and inspect closely under bright light. If any pigment persists, you can apply a second, slightly more intensive pass using a fresh cloth and, if needed, a new portion of solvent. Do not over-wet the surface or let solvent pool on the paint long enough to seep around trim or edges. If multiple areas are affected, apply the same measured approach to each area rather than blitzing the entire surface. This careful discipline helps maintain a uniform appearance and avoids creating new hazing or dullness.
After you have removed the bulk of the paint, the truck deserves a final, restorative touch. A clay bar or polish can help reclaim smoothness and shine. If you used a clay bar to lift embedded pigments, finish with a light buff using a mild polishing compound and a clean microfiber pad. If you did not use clay, you may still benefit from a gentle polish to restore surface uniformity and remove any micro-marring that may have occurred during removal. Finish with a protective coat—a wax or sealant—that helps shield the area from future contaminants and makes future cleanup easier. A note on overall finish: even a small, well-executed cleanup can reveal how well the original paint layer has held up. If you notice hazing, color unevenness, or unusual texture, consider consulting a professional detailer. They can assess the condition of the clear coat and use polishing compounds, controlled machines, or more advanced detailing techniques to restore the panel to near-original luster without removing material or introducing new swirls.
In cases where road paint has deeply embedded into the clear coat or where the finish seems compromised, the best course may be professional service. A trained detailer can evaluate the extent of the adhesion, employ machine polishing to remove a thin layer of clear coat if necessary, and reestablish the panel’s gloss with precision. This approach preserves the integrity of the base paint and ensures a consistent finish across adjacent panels. While it may require a larger upfront investment than a DIY attempt, it reduces the risk of color inconsistency, edge bloom, or thin clear coat that could lead to more extensive repairs later.
A practical mindset throughout this process is to stay patient and methodical. The temptation to push through with a harsh solvent or aggressive rubbing can lead to unintended consequences. The right path is the one that respects the vehicle’s original finish and uses the gentlest effective method available. This means starting with soap and water for fresh paint, moving to a dedicated automotive paint remover for dried paint, and using alcohol as a supplementary aid only when necessary. It means testing first, using non-abrasive tools, and rinsing thoroughly to prevent residue. It also means knowing when to pause and seek professional help. Your truck’s finish deserves that careful, informed approach.
For broader safety context and guidelines on handling solvents and hazardous materials, the U.S. Environmental Protection Agency provides official information that can help frame these practices within a wider safety framework: https://www.epa.gov/hazwaste/chemical-safety#solvents
null
null
Final thoughts
Removing road paint from your truck is not just about aesthetics; it’s about preserving your vehicle’s integrity and readiness for off-road escapades. By addressing fresh paint promptly, mastering techniques for dried paint, prioritizing safety with solvents, and knowing when to consult a professional, you empower yourself to maintain your truck’s rugged charm. Keep your truck looking its best, serving as a testament to your adventurous spirit and dedication to excellence. Remember, your truck’s surface is not just an exterior; it’s an ongoing commitment to adventure, craftsmanship, and pride in what you drive.