
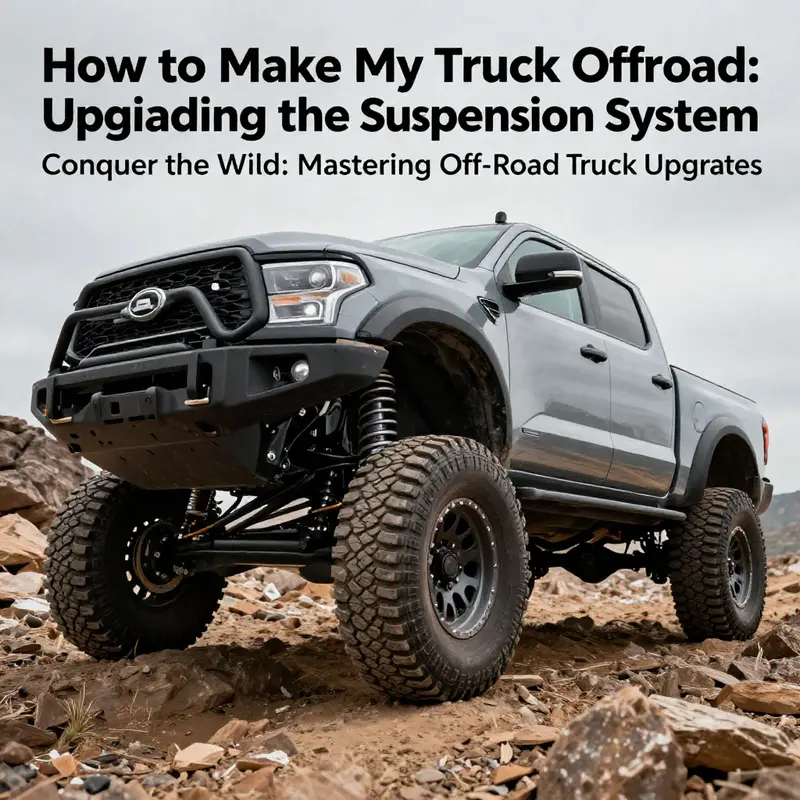
Off-road driving isn’t just a pastime; it’s a passion that beckons adventurers into the great unknown. Whether you’re an off-road enthusiast who thrives on navigating rugged terrains, an agricultural landowner tackling rural paths, or a fierce competitor in off-road racing, the right modifications can turn your standard truck into a formidable machine. Understanding how to upgrade pivotal systems like the suspension, tires, protective armor, lighting, and power can elevate your experience to new heights. This guide will take you through each essential upgrade, ensuring your truck is ready to conquer any obstacle nature throws your way.
null
null
Tires, Wheels, and Traction: Laying the Groundwork for Real Off-Road Capability
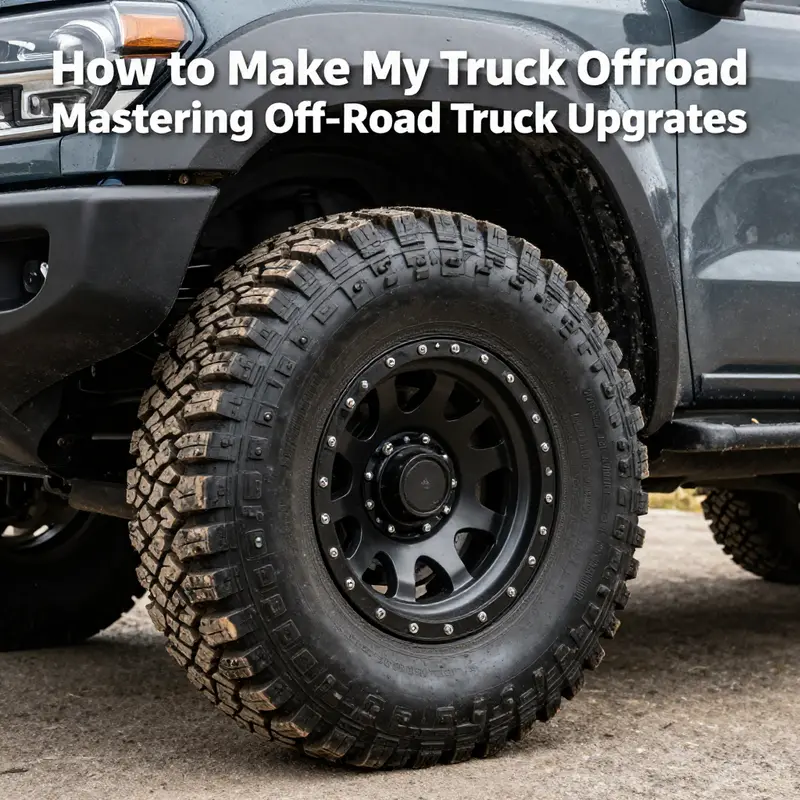
Choosing tires and wheels is not just a cosmetic decision when you’re gearing a pickup for off-road adventures. It is the foundation of how your truck will meet rough terrain, how it will behave under load, and how far you can push your limits without inviting breakdowns. The tires are the first point of contact with the ground, the interface that translates torque into motion, while the wheels are the sturdy couriers that keep the tire pressed to the surface under the harsh realities of off-road travel. Taken together, they shape grip, stability, ride comfort, and even fuel economy. The path to a capable off-road setup starts with a clear sense of purpose: where you plan to go, what you’ll encounter, and how much road driving you’re willing to tolerate between expeditions. From there, you can navigate the terrain of tire types and wheel specifications with a practical eye for balance rather than bravado.
The core decision about tires revolves around the terrain you expect to encounter and how much daily driving you’re willing to endure in exchange for off-road performance. All-terrain tires sit at the center of the spectrum as the workhorse choice for most enthusiasts. Their tread patterns are aggressive enough to bite into mud, loose rock, and uneven surfaces, yet refined enough to remain relatively quiet and predictable on paved roads. Expect a durable sidewall and deeper grooves than standard highway tires, which translates into improved traction without completely surrendering on-road manners. For many drivers, this is the practical compromise: strong all-season capability with a tolerable level of road noise and reasonable tread life. If you spend most weekends exploring trails or desert washes and still need to commute to work, all-terrain tires strike the right balance for reliability, cost, and versatility.
On the other hand, mud-terrain tires are engineered for the most demanding terrain. Their large, widely spaced lugs are designed to self-clean and to dig into soft mud, sand, or rocky grades where traction can evaporate in a heartbeat. The payoff comes with a noticeable trade-off: louder highway noise, stiffer ride, reduced fuel economy, and accelerated wear on paved surfaces. They excel when you repeatedly confront truly challenging off-road conditions and have the patience to tolerate the highway compromises. If you rarely drive on pavement or you plan to spend long stretches in remote areas with little traction, mud-terrains can unlock capabilities that simpler tires simply never deliver.
There is also a newer category, road-terrain tires, designed to bridge the gap between all-terrain and mud-terrain. They offer a less aggressive tread pattern than traditional MTs, providing better on-road comfort and lower noise while still offering meaningful off-road grip for light to moderate excursions. This option can be ideal for truck owners who see occasional dirt or gravel as a normal part of their trips but want a quieter, more fuel-efficient highway experience than MT tires typically allow.
Finally, highway-travel tires, or HT tires, remain the standard for stock setups aimed at pavement. They provide predictable handling, minimal road noise, and long tread life but offer limited capability once you stray from the pavement. If your off-road journeys are rare or strictly casual, HT tires can be perfectly adequate—but they’ll quickly show their limits in mud, sand, or rocky trails.
With terrain in mind, you also need to consider the newer road-terrain option that aims to maintain highway comfort while providing better-than-average off-road capability. If you are chasing a more relaxed highway experience with occasional excursions into rough terrain, this can be a practical middle ground that keeps your daily drive enjoyable while avoiding the penalty of a full MT setup.
Beyond the choice of tire type, the wheel is the second pillar of the decision. The wheel must be compatible with your tire’s width and the truck’s lifted geometry. The relationship between wheel width and tire width matters because it determines how the tire sits on the rim and, ultimately, how much contact you have with the ground. A general guideline is that the wheel width should be roughly 70 to 85 percent of the tire’s section width. A 33-inch tire typically performs best on a wheel around 10 to 12 inches wide. Going too narrow can cause the tire to bulge, increasing vulnerability to sidewall damage; going too wide can alter the tire’s profile, affect bead seating, and create clearance problems with fenders or suspension components.
Bolt pattern and offset are the next compatibility considerations. Your wheels must match the truck’s bolt pattern exactly, and the offset—the distance from the hub mounting surface to the wheel’s centerline—must be chosen to maintain proper scrub radius and steering geometry. Incorrect offset can cause rubbing when turning or moving over obstacles and can throw off alignment, which in turn affects tire wear and handling precision. The material and construction of the wheel also matter, especially in off-road contexts. Forged aluminum or heavy-duty cast aluminum wheels are common choices for their light weight and strength, but the primary goal should be durability and load capacity. A wheel that can withstand impacts, resist bending, and hold the bead without losing air under rough conditions is indispensable when you’re negotiating boulders, ruts, or uneven trails.
Size and fit are more than just a matter of aesthetics. Lifted suspensions, especially in the 3-inch to 4-inch range, demand careful planning. A larger tire and wheel combination can restore or enhance ground clearance, but it also increases the risk of rubbing against fenders, control arms, or the frame when the suspension cycles through its travel. If you plan to run a lift, you should verify that your chosen tires clear the wheel arches at full articulation. You may also need to recalibrate the speedometer and consider gearing changes to preserve accurate torque behavior and fuel economy. In practice, this means that tire and wheel choices should be made in concert with suspension tuning, not in isolation. A holistic approach keeps the truck’s geometry coherent and its handling predictable under load and on uneven ground.
Another practical facet is tire pressure management. On pavement, you’ll typically run higher pressures for stability and wear resistance. Off-road, you’ll want lower pressures to increase the tire’s footprint and improve grip on soft surfaces like mud or sand. The transition between on-road and off-road pressures should be planned, and you should keep a reliable pressure gauge and a method for re-inflation. Low-speed, off-road driving often benefits from a modest drop—enough to maximize contact patch without risking bead pop or sidewall damage. Conversely, high-speed off-road travel may require different target pressures to stabilize the tire under load and impact. The goal is to balance traction with protection, ensuring you don’t compromise the bead or the sidewall integrity in pursuit of extra grip.
From a maintenance perspective, regular inspection remains essential. Check the tread depth across the circumference and inspect for bulges, cuts, or embedded rocks that could lead to slow leaks. Rotate tires according to the vehicle’s recommended pattern and service the wheel bearings, studs, and lug nuts on schedule to prevent alignment shifts or dangerous loosening. A robust tire and wheel setup also benefits from fuel-line safety, avoiding damage from road debris or overheating during long climbs. While this might seem tedious, it translates into longer tire life, better traction, and fewer roadside surprises.
In the context of the broader upgrade plan for an off-road truck, tires and wheels are not a separate add-on but a synergistic component. They work in concert with a lifted suspension, protective armor, and enhanced lighting to deliver a coherent and capable platform. The objective is not to chase the loudest tread or the flashiest wheel finish, but to secure reliable traction, predictable handling, and durable protection across varied terrains. A well-chosen tire and wheel package reduces the risk of getting stuck, minimizes damage from obstacles, and improves the overall confidence you bring to any off-road scenario. When you select tires and wheels with this integrated mindset, your truck becomes a more capable and safer off-road companion, ready to meet streams, shale, sand, and slick rock with a predictable, controllable demeanor.
For readers who want to explore a broader, expert examination of tires and wheels beyond the practical guidelines outlined here, a respected industry resource offers a thorough, comparative look at how different tire categories perform across terrains and road conditions. It provides detailed criteria for evaluating tread patterns, sidewall strength, and pattern depth, alongside real-world testing data that helps translate theory into reliable, repeatable performance on the trail. Consider it a deeper dive into the science of traction and the art of choosing the right pair for your truck and your adventures. External resource for tire and wheel selection.
Shielding the Trail: Crafting a Rugged Off-Road Truck with Armor, Bumpers, and Accessory Power
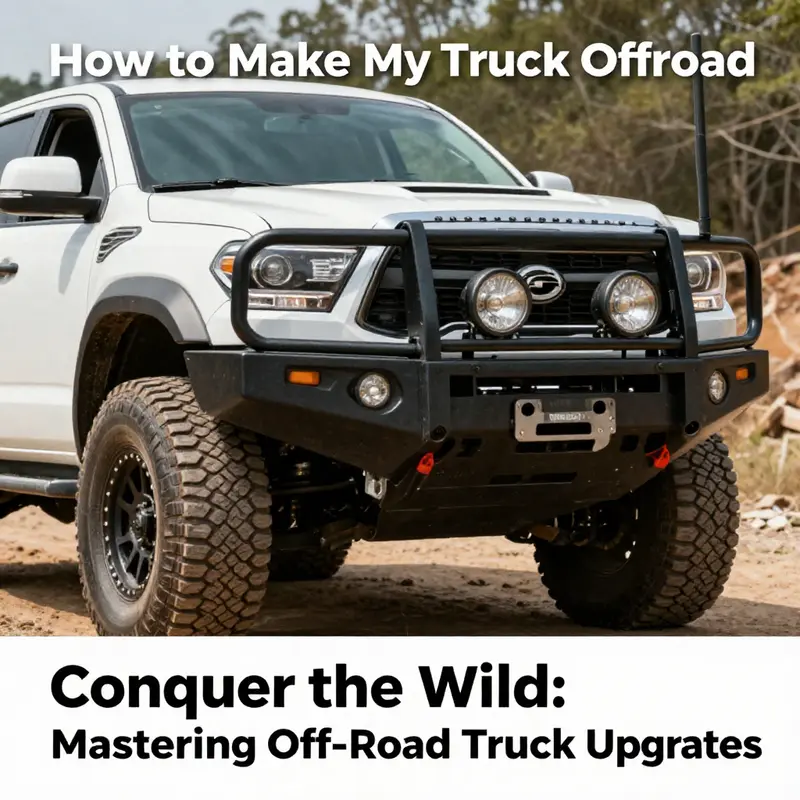
Armor and accessories are not mere add-ons for an off-road build; they are the vehicle’s first line of defense and its work gear. When you’re negotiating rocky crossings, rutted trails, or dirt-packed climbs, a shielded undercarriage and a carefully chosen set of protective and functional components can transform hesitation into confidence. This chapter explores how thoughtful armor choices—underbody protection, reinforced bumpers, rock sliders, and the right range of accessories—work together to create a truck that can endure the wild while keeping you safer and more capable on the trail. It isn’t about turning a street pickup into a tank; it’s about layering strength where it counts most and pairing that protection with practical tools that help you recover, see, and stay powered through demanding sections of terrain. The approach is methodical, not flashy, and it rests on a simple premise: protection that adds real value without crippling performance or daily usability.
The backbone of serious off-road defense starts with underbody armor. The undercarriage is the most vulnerable part of any dirt road expedition. The frame rails, differential housings, fuel tank, and suspension components can all take punishing hits from rock ledges, hidden stumps, and abrupt drops. Armor options run the gamut from flexible protective coatings to rigid skid plates, each with its own balance of protection, weight, and serviceability. A practical strategy is to combine both flexible coatings and rigid plates. Elastic, rubberized asphalt coatings or polyurethane-based undercoatings can absorb minor impacts and slow down corrosion by encapsulating vulnerable surfaces. They form a thick, flexible barrier that fights scrapes and chafing where stones and mud would otherwise wear through metal quickly. For the most critical areas—the differential, transmission sump, and fuel lines—steel or aluminum skid plates provide a rigid shield. These plates bolt directly to frame rails and give a hard, fast line of defense against direct hits. The material choice matters: steel offers maximum protection and durability; aluminum keeps weight down and resists corrosion well. The aim is to create a layer that treats the underbelly like a shield rather than a single sheet of metal that can bend in a pinch.
Implementing the armor is more than choosing parts; it’s about a careful preparation and installation process. Thorough preparation starts with a comprehensive underbody clean. Pressure washing loosens dirt and grease, while degreasing ensures the armor adheres properly if coatings are involved. After drying, masking critical components—exhaust manifolds, brake lines, sway bars, and suspension joints—prevents accidental overspray or coating on parts that need to move or dissipate heat. When applications call for undercoatings, applying multiple even coats ensures uniform coverage and seals seam edges where debris tends to accumulate. For skid plates, precise fitment is essential; gaps can create leverage points that pry plates away under load. The installation, ideally performed by a professional or a very capable DIYer, must consider clearance. You don’t want new armor to contact moving parts or restrict articulation at full suspension travel. The result is a resilient shell that protects vital systems while preserving ground clearance and approach angles—critical bonuses for stealthy, confidence-building off-roading.
Alongside underbody protection, body armor and auxiliary protection amplify the truck’s durability in a practical way. Front and rear bumpers designed for off-road use are more than cosmetic upgrades. Heftier bumpers provide a sturdy mounting point for recovery gear, winches, and lighting, and they absorb impacts that would otherwise stress crumple zones or radiator cores. For those trails where branches and loose rock become unpredictable hazards, reinforced bumpers give you leverage in tight spots and reduce the risk of radiator damage when you nose into a fallen log or a pinned rock. Fender flares serve a similar functional purpose by accommodating wider tires without body contact. They also shield the paint from spray and debris that can scuff rocker panels on fast-through-dust days. Rock sliders, mounted along the lower side of the truck, are the unsung heroes of protection. They defend the sills and doors from pinches and gouges when the truck scrambles over ledges or slides along a rock face. The intended effect is clear: as you brush past obstacles, the armor takes the abuse so the body and critical wiring stay out of harm’s way. This is not merely cosmetic armor; it is a strategic investment in the truck’s long-term operability in demanding environments.
Beyond protection, armor and a thoughtful set of accessories expand capability in practical, visible ways. Lighting is one of the simplest upgrades with a disproportionate payoff. Off-road lighting, including high-lumen LED spots and floods mounted on the roof, bumper, or grille, increases both forward and peripheral visibility. The ability to spot loose gravel, ruts, or hidden hazards earlier can prevent a misstep that could lead to body damage or a stuck situation. The added lighting also reduces fatigue on night runs, letting you focus more on line choice and throttle control rather than fidgeting with the standard headlamps. When you pair better lighting with a reinforced bumper, you gain a robust staging area for recovery gear and a mounted winch, creating a practical hub for self-recovery operations.
Recovery capability itself sits at the heart of an off-road armor package. A capable winch mounted to a reinforced bumper is more than a tool; it’s a lifeline when you’re off the trail and one wheel is buried in mud or rock. A winch, sized to your truck’s weight and typical load scenarios, pairs with rugged mounting points and a fairlead that reduces rope wear. Only after installing a winch do you truly appreciate the synergy with armor: the bumper becomes a platform, the armor helps keep the mounting hardware aligned, and the added weight improves stability when winching. It’s essential to couple winch readiness with a practical recovery kit, including high-strength recovery straps, a kinetic rope option for heavy dragging scenarios, and a quality air compressor to re-inflate after a successful extraction. A comprehensive approach to recovery also typically includes a basic knowledge of winching technique and a read of the terrain, because the best gear is useless without proper handling and safety.
No discussion of off-road armor would be complete without addressing tires and wheels, the first contact with the ground and, ultimately, the source of most on-trail performance. The tires you choose should reflect the terrain you expect most often, balanced against on-road comfort and noise. In a robust armor-and-accessories build, you’ll want tires with aggressive tread that can still ride with some civility on pavement. All-terrain tires offer a compromise for road practicality and trail traction, while mud-terrain tires excel in slop, mud, and deeply uneven surfaces. A common upgrade is to pair larger, stronger wheels with a lifted suspension to gain clearance and to accommodate bulkier tires. The wheels should be chosen with the correct bolt pattern and adequate offset to protect tire sidewalls and maintain steering geometry after armor installations. In addition to tire choices, practical self-reliance on the trail comes from having a tire repair kit or run-flat options to handle punctures. In the event of a sidewall injury, knowing you can still move to a safe position before a tire change can make a critical difference in both safety and trip planning.
Protection and capability also extend inward. The best armor strategy considers not just what you see on the outside but how the vehicle’s systems are safeguarded beneath the surface. The combination of underbody protection with bumpers and sliders reduces the chance of serious damage and reduces the likelihood of costly downtime. It also contributes to vehicle balance: armor adds mass in a controlled way, which can affect handling in a beneficial sense on rough trails if the suspension and tires are properly tuned. The result is a truck that handles like a well-balanced tool rather than a fragile trophy. Importantly, any armor and accessory plan should be anchored by quality parts and professional installation to ensure reliability and safety on long, demanding trips. Shoddy fitment or mismatched components can create more risk than reward, especially when you rely on the vehicle in remote areas where a failure is not just inconvenient but potentially dangerous.
To make this protective framework practical, think about your trail style and how you use the truck. If self-recovery is a frequent need, invest in a winch with appropriate mounting and a strong bumper. If you spend long days in dim forests or high-latitude terrain, invest in lighting that can cut through the shadows and reduce the chance of a misstep. If you frequently run through desert washes or rocky outcrops, a well-designed skid plate and sturdy rock sliders will repay themselves many times over through fewer body repairs. And if you wheel with friends or in remote backcountry, the peace of mind that comes from a robust armor system can be as valuable as any horsepower gain. The overarching principle is straightforward: armor and accessories should reinforce safety, protect valuable components, and enhance the ability to recover, see, and operate in tough environments without compromising daily usability.
For those who want to take this further, it can be worthwhile to consult with off-road specialists who tailor a package to your exact truck model and adventure plans. They can balance weight, protection, clearance, and the ability to accommodate larger tires or a heavier winching system. As you plan, keep in mind that the most effective builds are iterative—protective armor first, then recovery and lighting, and finally any performance updates that fit your mission. With the right combination, your truck becomes more than a vehicle; it becomes a trusted partner in exploration, capable of handling the unexpected with confidence while keeping you and your crew safer on every mile of the trail.
External resource: Off-road truck modifications guide
Sharper Night Vision: Elevating Your Truck’s Off-Road Lighting for Safer Trails
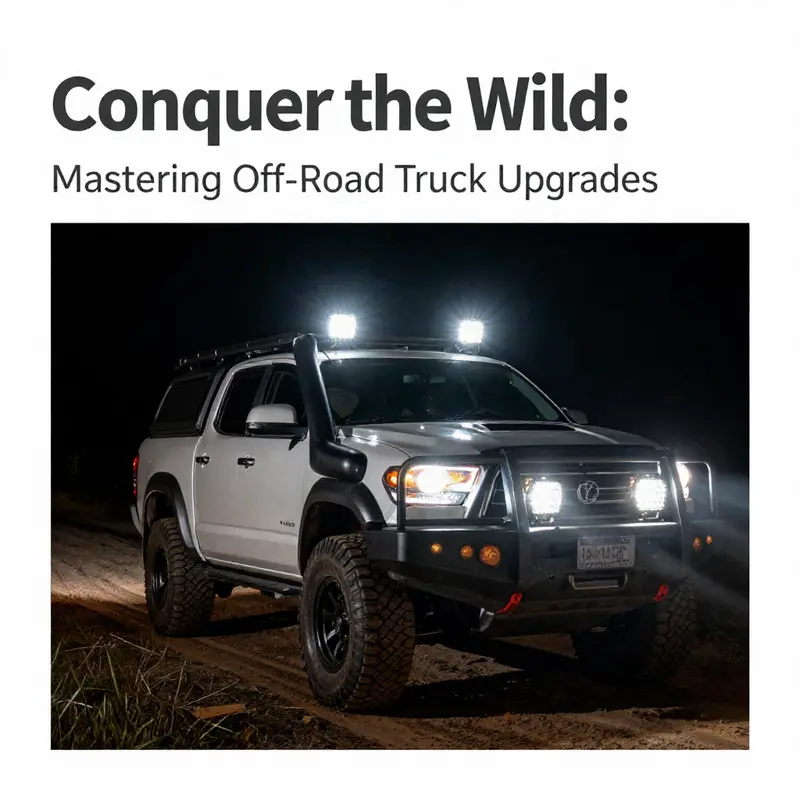
When you push a pickup into terrain that hides its dangers after dark, lighting isn’t a luxury. It’s a core part of your truck’s off-road capability and your safety. Good lighting reveals obstacles before you collide with them, guides your line through timber and ruts, and reduces fatigue on long night climbs. This chapter focuses on lighting as a practical, coherent upgrade that complements the larger goal of turning a street-ready truck into a trail-ready one. It’s not about amassing wattage for its own sake, but about crafting beam quality, reliability, and control. You’ll learn to clean and optimize what you have, upgrade where it makes sense, and integrate additional lighting in a way that respects the electrical system and the aesthetic of a rugged, capable vehicle. By rethinking lighting as a system, you’ll find that better visibility improves not only your confidence but your ability to handle adverse conditions with precision rather than improvisation.
The first step in a lighting upgrade is often the simplest: clean and inspect. Dirt, dust, and grime on bulbs can quietly sap brightness and create a dull, uneven field of illumination. Begin with a thorough wipe of all bulbs you use on the road and trail, paying special attention to the filaments and bases. If a bulb is old, discolored, or has a loose filament, replace it. Even modern LEDs will lose brightness as their components degrade, and older halogen bulbs can produce a warm, inconsistent glow that makes distant terrain harder to read. This is not just maintenance; it is the foundation of reliable visibility.
Next comes the upgrade that most owners should consider for meaningful gains in night visibility: switching to LED bulbs. LEDs offer brighter light with less heat and longer life compared with traditional halogens, and they consume less energy for a given level of output. The upgrade reduces the chance of early bulb failure on the trail and minimizes the burden on your alternator and battery during long night runs. When you choose LED bulbs, you’re selecting light with a cleaner color and a more uniform beam, which translates into better recognition of obstacles, shadows, and edges along the trail. It’s not just about more light; it’s about the right kind of light that makes the terrain feel clearer and your line of sight more confident.
Alongside bulb performance, the condition of headlight lenses dramatically affects beam quality. Yellowing, fogging, or fine scratches on the lens surface scatter light and blur the edge of the beam, reducing reach and clarity. If you notice a milky appearance or dim spots in the beam, consider restoring or replacing the lenses. A polishing treatment can remove minor haze and bring back a sharp, even output, while more severe aging may require new lenses or assemblies. Restored lenses let you preserve the alignment you’ve perfected and improve the focus of the beam without increasing the power draw or introducing glare from hazy surfaces.
Beyond the stock headlights, auxiliary lighting is where many drivers unlock meaningful gains on challenging trails. A practical setup often combines two layers of light: a wide-angle, roof-mounted light bar that sweeps the immediate terrain and two focused front bumper spotlights that punch far ahead on trail sections where you need to spot roots, rocks, or washouts before you reach them. The idea is to create a versatile lighting umbrella that covers both near-field scanning and long-range projection. But power and wiring are crucial here. High-output auxiliary lights pull more current than stock headlights, and without proper planning, you can overload circuits or blow fuses. Install a dedicated lighting relay with its own fuse and a protective switch, and route the wiring through weatherproof grommets and secure loom to minimize chafing. The goal is reliability in rough weather and at speed, not a tangle of exposed wires.
While adding lights, it’s important to consider beam pattern and glare. Projector-style lenses and properly designed housings can direct light more efficiently than flat reflectors, concentrating the beam where you want it and reducing glare that can impair oncoming traffic or reflections on wet surfaces. You don’t need to chase the most aggressive wattage to get usable long-range visibility. Instead, you want a clean, well-controlled beam that provides clear delineation of the terrain ahead. This is where the terminology of optics matters: beam cut, cutoff, throw, and pattern all influence how well the light translates to real trail sightlines. A thoughtful combination of roof-mounted and bumper-mounted fixtures tends to deliver the most balanced field, especially when paired with a properly aimed primary beam.
Speaking of aiming, this is a stage where precision matters as much as hardware. The best lights in the world will still blind oncoming drivers if misaligned or pointed upward. Start with a wall or garage door method: mount the vehicle at a standard distance from the flat surface, then adjust the beam so the brightest area falls just below the level of the headlight height, and ensure the pattern is evenly distributed across the field. The goal is to illuminate the terrain without creating glare that reflects off mud, rain, or water on wet pavement. In practice, this means angling the fixtures downward by a measured degree, so the beams sweep the ground a short distance ahead and progressively rise into the trail beyond. After initial alignment, take the truck for a controlled test on quiet, dark roads and well-lit street segments to ensure the beams cooperate with oncoming traffic and don’t violate local lighting regulations. Small adjustments on the road can translate into clearer lines on a winding trail.
Integrating lighting with the truck’s electrical system is a step that should not be rushed. Even with LED technology, high-output lighting draws more current than standard headlights. If the wiring isn’t sized for the load, you risk fuse blows or voltage drops that dim crucial beams during acceleration or when you need power for other systems. A practical approach is to run dedicated feeds from the battery or a helper relay, with proper fuse protection and, when possible, a relay controlled by a switch that you can reach without diverting your attention from the trail ahead. Electrical components such as switches should be rated to handle outdoor exposure, and all connections should be waterproofed to withstand rain, mud, and river crossings. As you plan, also consider the battery and alternator capacity for your truck, especially if you’ve already added other performance upgrades. It’s tempting to push the limits, but lighting should feel steady and predictable, not erratic or intermittent, as you navigate unpredictable terrain.
In the broader sense, lighting is a system that benefits from restraint and balance. You don’t want a wall of brightness that disorients you or reduces night adaptation. You want light that helps you read the ground, track the line of the trail, and identify potential hazards without creating new hazards for others. This is why lens quality, beam control, and proper power management deserve as much attention as the number of lights you install. It’s also why a staged approach—start with the basics, confirm reliability, and then add auxiliary lighting in a controlled manner—often yields the best long-term satisfaction. The end result is not merely more light but a healthier, more navigable night presence on the trail. You’ll feel the difference in the first steep turn, when the edge of a rut comes into clear view a split second earlier, allowing you to adjust your line with confidence instead of reaction.
If you’re seeking further detail and real-world setups, there are professional guides and trail-tested configurations that explore how enthusiasts distribute light for different landscapes—from rocky canyons to sandy washes. For broader guidance and product recommendations that align with the principles outlined here, many readers turn to comprehensive off-road lighting resources. You can explore a detailed, field-tested approach at Truck Trend’s in-depth lighting guide: https://www.trucktrend.com/.
From Street to Summit: Building Power and Traction for True Off-Road Capability
Power and traction sit at the heart of off-road ability. Without enough muscle to break through the clutter of obstacles, even the best suspension, the toughest tires, and the stoutest armor can’t deliver the grip you need when the going gets gnarly. This chapter threads together the strategies that translate power into real-world traction, weaving engine work, intake and exhaust improvements, forced induction, tire choices, and differential tuning into a cohesive approach. It’s about enabling your truck to put its muscle on the ground where it counts, while maintaining reliability, safety, and driveability across mixed terrain. The journey begins with treating power as a controllable, modular asset rather than a vague concept of “more is better,” and it ends with a setup that can keep momentum up without sacrificing the on-road manners you still rely on for daily driving. A truly capable off-road truck is not a single bolt-on; it’s a carefully balanced system where the engine, the drivetrain, the tires, and the chassis all talk to each other in harmony.
Power in off-road contexts is less about raw peak horsepower and more about meaningful torque delivery at low to mid RPMs, where rocks, ruts, and sand demand slow, deliberate acceleration rather than a sudden surge. To unlock this kind of response, the first pillar is engine tuning that respects the fuel system and the engine’s internal limits. An ECU remapping, when performed by a professional or with a reputable, calibrated approach, optimizes fueling and timing to raise usable torque and improve throttle response without pushing the engine into unsafe heat ranges. In many engines, particularly those with turbochargers, a properly tuned map raises boost pressure in a controlled, linear fashion that helps the truck slog up muddy or rocky grades instead of yawing into wheelspin. It’s not about chasing peak numbers on a dyno; it’s about shaping the power curve so the truck remains controllable as traction conditions shift.
Where power meets air, the intake and exhaust systems matter as much as the engine’s internal logic. A high-flow intake and smoother intake tract reduce the resistance to air entering the engine, allowing cooler, denser air to mix with fuel for more efficient combustion. Together with a freer-flowing exhaust, which reduces backpressure, this setup helps the engine breathe more freely and produce power more consistently across a broader range of speeds and loads. The goal isn’t a louder exhaust or a higher redline; it’s improved throttle response and stronger midrange torque that you can feel when starting a climb or crawling over a stubborn obstacle. When these changes are paired with an appropriate intercooling strategy in the case of forced induction, they contribute to sustained power without the risk of heating the intake air to the point where performance dips.
Forced induction—turbocharging or supercharging—offers a substantial step up in available air for combustion, and with it, real gains in torque at low speeds and sustained pull on steep terrain. Implementing a forced-induction system isn’t a casual upgrade; it requires careful integration with the intake, exhaust, cooling, and engine management. An intercooler, for example, helps keep intake air temperatures in check, preserving density and preventing heat soak that would otherwise sap power under load. The combination of forced air and precise fueling can yield a noticeable climb in usable torque without forcing the engine into the red zone, provided the rest of the system is sized and tuned for the increased airflow and heat generation. If a driver expects a dramatic power hike, think of forced induction as a lever that must be balanced with cooling capacity and reliability expectations. It is equally important to match the upgrade with a robust drivetrain and appropriate gearing so the increased torque can be transmitted to the ground without overstressing components.
Traction is the other half of the equation. Even with a strong motor, traction remains the decisive factor in off-road progress. Tires designed specifically for approaching extreme terrain are essential, but so is the tire’s interaction with pressure, weight distribution, and the terrain itself. All-terrain tires provide a versatile compromise for mixed use, offering robust traction without sacrificing everyday comfort. Mud-terrain tires maximize grip in sticky conditions like clay, thick mud, or loose sand, but they can degrade on clean pavement. The key is aligning tire choice with the expected terrain and the vehicle’s weight and suspension travel. Equally important is tire pressure. A typical rule of thumb on soft ground is to deflate the tires just enough to increase the contact patch without risking bead slippage or sidewall damage. Dropping pressure to around 20–25 psi can dramatically improve traction on sand and mud, enabling the tread to bite rather than ride on the surface. On rock, the benefits of lower pressure must be balanced against the risk of bead instability and tire heat. Each session, field, and vehicle weight demands careful adjustment and a conservative approach until you understand the terrain’s demands and your truck’s handling.
Just as crucial as tire choice is how power translates to the wheels through the drivetrain. A locking differential or a reliably engaging limited-slip differential is a cornerstone of real off-road capability. When one wheel encounters slick surface, mud, or ice, power must be redistributed to the wheel with grip. A locker eliminates the difference between axle halves, ensuring that both wheels receive torque in unison and press forward rather than spin in place. A properly tuned LSD can be a strong middle ground, providing improved traction on low-traction surfaces while still enabling reasonable steering and a degree of predictability through corners. The operational balance matters here: lockers and LSDs should complement, not fight with, the suspension’s articulation and the power curve, especially when front-to-rear weight transfer is dynamic on exposed obstacles.
All of these mechanical choices sit atop the chassis and the drivetrain, which themselves must be robust enough to handle enhanced power. Upgrading components such as driveshafts, axles, and the transfer case—while not always necessary for every build—often becomes prudent as torque increases. Strengthened or reinforced shafts and CV joints help prevent failure under high load, particularly during long climbs or when negotiating steep, irregular surfaces. Yet the core principle remains unchanged: any power upgrade must be matched with a drivetrain capable of managing the load. This synergy becomes especially evident when an adaptive or driver-selectable traction system is factored in. Modern trucks use electronics to optimize traction control calibrations, shift logic, and even ride height to help the truck maintain grip under varying conditions. The result is a more confident approach to tough terrain, where the vehicle can maintain momentum without unexpected wheel spin or loss of control.
To connect power and traction into a practical, continuous experience, the integration must consider the vehicle’s overall balance. A lift or higher ride height improves clearance and prevents bottoming out on obstacles, but it also shifts weight transfer and can affect braking and handling. A power upgrade without corresponding adjustments to the suspension and chassis chemistry can lead to an unbalanced machine that feels top-heavy or skittish on loose surfaces. The best path is to approach modifications as a system: tune the engine and intake for efficient power delivery, select tires that match the terrain, ensure the differential strategy provides reliable grip, and confirm that the drivetrain and suspension can tolerate the new loads and stresses. With this integrated approach, the truck becomes more capable in a broader set of off-road scenarios—from steep inclines and loose sand to jagged rock fields and muddy alleys—while preserving daily-drive usability.
Every upgrade has to be implemented with an eye toward reliability and safety. Modifications should be performed by qualified professionals when possible, and components chosen for compatibility with the vehicle’s weight and intended use. Regular maintenance becomes even more critical after power and traction enhancements. Cooling systems, fuel delivery, and exhaust components should be monitored for signs of stress under extended off-road operation. Routine inspection of driveline joints, mounting hardware, and electrical connectors helps prevent failures that could strand you far from civilization. The goal is not to chase a single thrill but to build an enduring capability that you can count on in challenging environments and every day use alike. This philosophy—consistent power delivery, deliberate traction management, and solid mechanical health—provides a foundation that supports your broader off-road ambitions, whether you’re exploring remote trails or simply seeking the confidence to tackle a rough back road after a rainstorm.
For readers seeking a deeper grounding in the mechanical aspects that underpin this approach, consider this resource: mastering-diesel-mechanics-your-step-by-step-path-to-success.
As you plan how to translate power into ground, remember that every terrain is a negotiation between grip, momentum, and control. A well-balanced, properly tuned system will not only improve your ability to climb and traverse rough terrain but also keep you moving with confidence when the surface changes under you. The most satisfying builds are those that feel seamless in the field: you coax the engine to deliver just enough torque to overcome resistance, you adjust tire pressure to maintain a broad contact patch, and you rely on a differential strategy that keeps each wheel contributing its share of propulsion. In the end, your off-road machine becomes more than a collection of parts—it becomes a living, responsive tool designed to meet whatever the trail throws at it. If you stay disciplined about alignment, heat management, and safety, the payoff is a truck that can tackle the most demanding off-road sections while still performing reliably on pavement, commutes, and weekends at the trailhead.
External resources can provide additional perspectives on safety and best practices for modifying vehicles for off-road use. For safety guidelines and general best practices, refer to the official guidelines and recommendations from recognized road-safety authorities: https://www.nhtsa.gov
Final thoughts
Achieving off-road excellence requires a dedicated approach to modifying your truck. From enhancing your suspension for a smooth ride over bumpy trails to selecting the right tires for optimal grip, each upgrade plays a crucial role in your off-road prowess. By investing in protective armor and improving visibility with powerful lighting systems, you ensure your truck can handle any adventure head-on. Lastly, boosting your truck’s power and traction will enable you to tackle the most challenging terrains. The open trails await your exploration; equip your truck wisely, and let the wilderness be your playground.